Customer support has changed a lot over the years. Emails and chat messages are still useful, but users now want something faster, friendlier, and more personal. That is where video replies come in. If your team uses Zendesk, you can easily follow this trend by using the Video Reply app for Zendesk.
This app lets you record, attach, and send videos directly in Zendesk tickets. Whether you are explaining a feature, demonstrating a bug fix, or simply saying thank you, video replies can dramatically improve customer satisfaction.
In this post, we will show you how to send video replies in Zendesk, why video communication is growing in customer service, and how to get the most out of video support.
Why Video Replies Are the Future of Customer Support?
Video is human. Unlike text, it conveys tone, emotion, and context in a single message. In customer support, that is very important.
When a customer reads a long explanation, they may miss key details. A video reply solves that problem because customers can see what to do and hear your tone. It feels like a one-on-one conversation.
Video support is becoming a significant trend of customer service. Companies are using video because it:
- Builds stronger connections
- Reduces misunderstandings
- Saves time for agents and customers
Many businesses using video see higher satisfaction scores and faster resolution times.
Why Zendesk Needs a Video Solution?
Zendesk is powerful and helps thousands of support teams manage tickets efficiently. However, it was not built for video replies.
Attaching a video manually can be clunky. Uploading large files, switching apps, and sending links is not ideal.
The Video Reply app for Zendesk fixes this problem. It lets you record and share videos directly in your Zendesk interface. There is no need for messy links or complicated workflows. Your customers get video tickets efficiently and professionally.
How to Send Video Replies in Zendesk?
Here is a simple step-by-step guide.
Step 1: Install the Video Reply App for Zendesk
You can find it in the Zendesk Marketplace. Once installed, it shows up in your ticket sidebar. Installation takes only a few minutes and does not require technical skills.
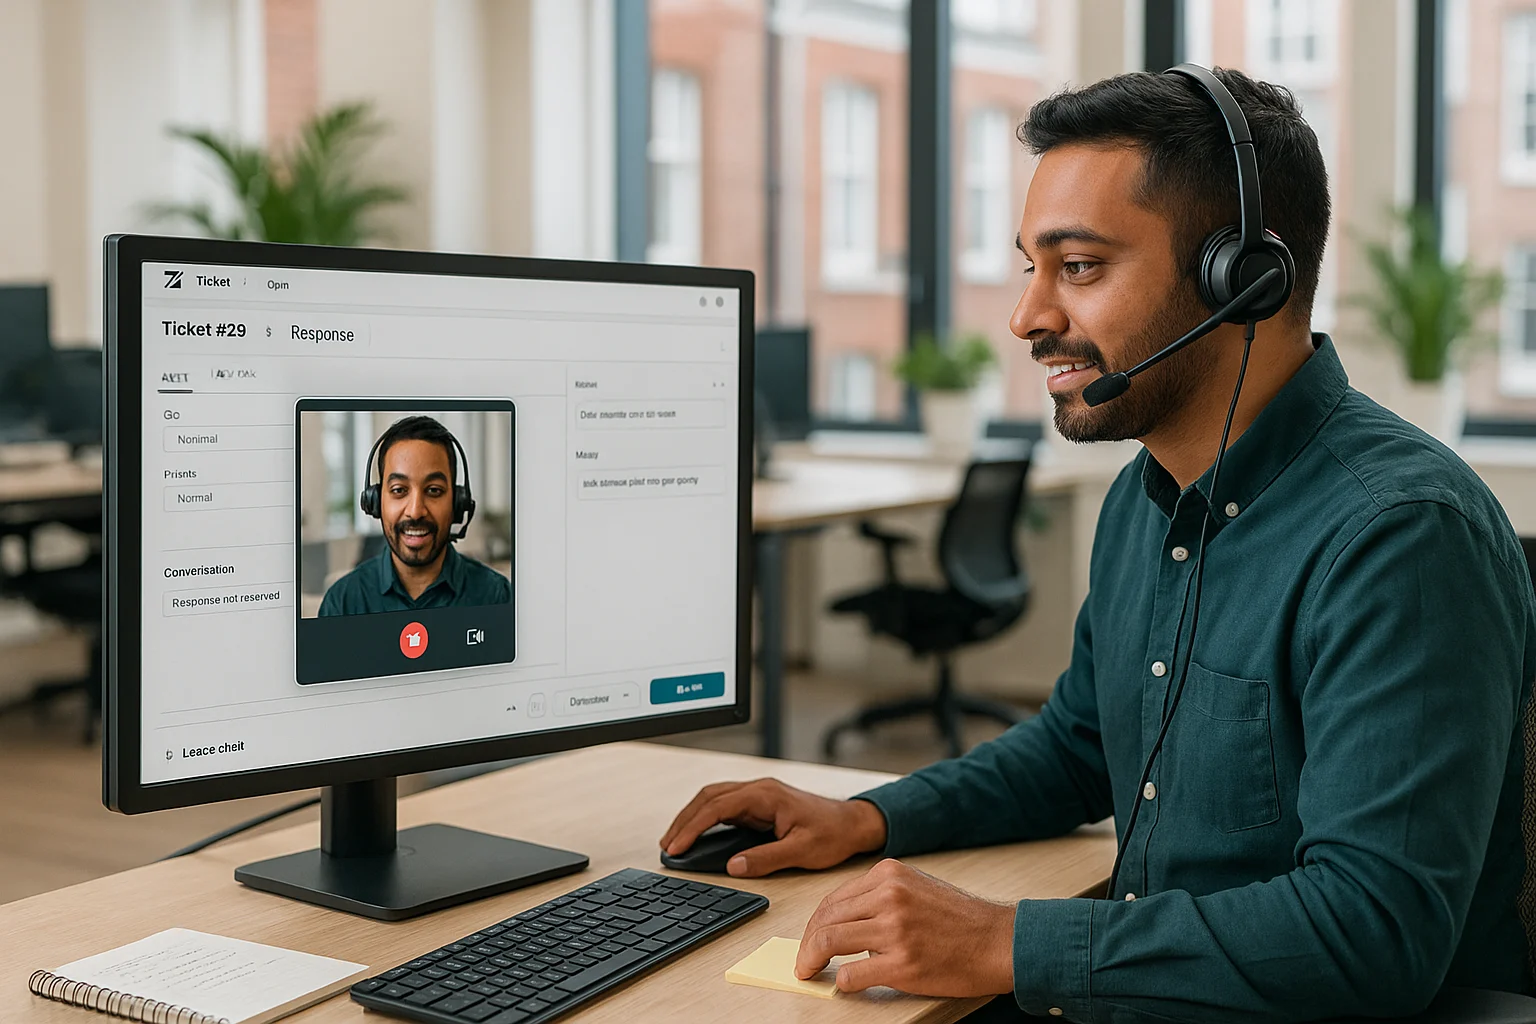
Step 2: Record Your Video Reply
Open a ticket and click the Video Reply widget. You can record:
- A personal greeting
- A step-by-step solution
- A quick visual walkthrough
Keep it short. Most customers prefer videos between 30 and 90 seconds. You can also record your screen or combine the screen and camera for guidance.
Step 3: Review and Attach Your Video
Preview your video before sending. The app compresses the file and attaches it to the ticket. Customers receive it in their email or the Zendesk portal.
Step 4: Follow Up and Track Engagement
After sending, watch how the customer responds. Did they watch the video? Did they reply faster? Many teams notice faster resolutions and fewer back-and-forth messages.
Examples of Video Replies That Make an Impact
Let’s look at how different types of companies use video tickets effectively.
1. SaaS and Software Companies
When customers struggle with a software feature, written instructions can be confusing. Instead, support reps record a quick screen-share video walking through the solution.
Example:
“Hey Alex, I noticed you’re trying to update your dashboard settings. Let me show you how it’s done it’ll take just 30 seconds.”
This approach feels natural and saves everyone time.
2. eCommerce Stores
For eCommerce stores, showing is better than telling. Instead of describing how to use a product or assemble something, a short video reply makes everything clear.
Example:
“Hi Maria, thanks for your question about our lamp assembly. I recorded this short clip showing how to attach the shade properly hope it helps!”
3. B2B Support Teams
Sometimes, a personal touch goes a long way. When dealing with important clients, sending a video support message creates a sense of partnership.
Example:
“Hi Jason, I wanted to personally thank you for your feedback and show you how we’re improving the integration based on your suggestion.”
Benefits of Video Replies

Video replies are more than just fancy attachments. They bring measurable improvements.
1. Human Communication
Text can sound robotic. Video adds warmth and empathy. Customers see your face and know you care.
2. Faster Problem Solving
Explaining something in text can take minutes. A video can show it in seconds. Video tickets reduce misunderstandings and save time.
3. Stronger Customer Relationships
Customers remember faces, not ticket numbers. Personal video replies make customers feel valued.
Tips for Effective Video Replies
To make your video replies better:
- Be yourself. Customers prefer authenticity over scripted perfection.
- Keep it short. Respect your customer’s time.
- Smile and speak in a friendly tone.
It may feel awkward at first, like talking to your webcam instead of typing. One awkward phrase we often hear is, “Let me show you this thing real quick.” It works, but should not be overused.
Common Mistakes to Avoid
Avoid mistakes that make your video less effective:
- Videos that are too long. Keep them under two minutes.
- Poor lighting or sound. Make sure your face is visible and your voice clear.
- Generic videos. Always mention the customer’s name or issue.
Bringing It All Together
Zendesk has always been a leader in support management. But with the rise of video support, it’s time to take things up a notch. The Video Reply app for Zendesk gives your team the tools to connect with customers more personally and efficiently.
Here’s a quick recap of why it matters:
- It turns regular text tickets into engaging video tickets
- It enhances the trend of customer service by adding a personal touch
- It boosts satisfaction and reduces resolution time
So, don’t wait for the future of customer support to arrive; it’s already here. Start recording, start smiling, and start building real human connections with your customers today.
Because sometimes, the best way to say “we care” isn’t through a long email. It’s through a short, friendly video.